
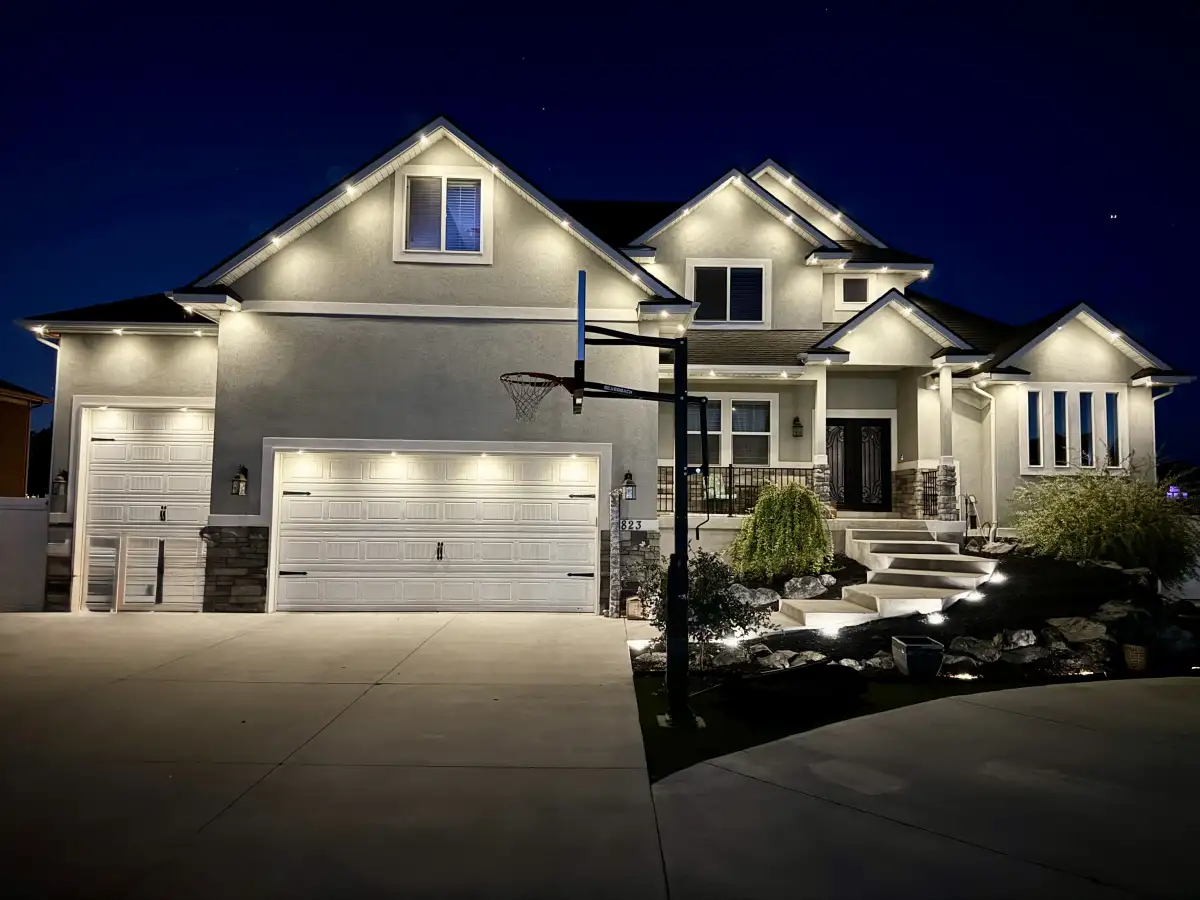
Outdoor Lighting Installation Managed From Layout to Final Aim
Outdoor lighting installation is the hands-on service that turns a design into a working system. It includes measurements, fixture placement, mounting, wiring routes, controller or transformer setup, testing, aiming, cleanup, and owner walkthrough. The quality of the installation determines whether the design keeps working after the first night.
Professional installation for lighting that stays organized
TruLight treats installation as more than attaching lights. The crew has to protect exterior materials, avoid sloppy cord paths, keep connections weather-aware, aim fixtures after dark where needed, and verify that zones and schedules match the plan. A good installation should look organized even in the places most visitors never see.
Professional outdoor lighting installation brings the design, fixture placement, wiring, controls, and final setup together so the finished system works cleanly instead of relying on guesswork.
Installation conditions around Camden, Columbia, Lexington, and rural Midlands properties vary from brick and vinyl exteriors to long runs across mature landscaping. The installer needs to adapt to the site instead of forcing a one-size layout.
Installation work that affects long-term results
- Field layout confirmation before mounting so fixtures land where the design intended.
- Clean wiring routes, protected connections, and thoughtful controller or transformer placement.
- Fixture mounting that respects trim, masonry, gutters, landscape beds, and walking surfaces.
- Nighttime aiming and brightness adjustments where needed to remove glare and dark gaps.
- Scene, schedule, or app setup before the project is handed off to the homeowner.
- A walkthrough that explains operation, care, and options for future lighting phases.
Planning wiring, fixture placement, and access before work starts
Confirming the fixture layout before mounting keeps the finished installation aligned with the design. Clean wiring routes, protected connections, and accessible controller or transformer placement help the system look polished and remain serviceable.
Mounting methods should respect the home's trim, masonry, gutters, landscape beds, and walking surfaces. Nighttime aiming and brightness adjustments can then remove glare and fill dark gaps that are difficult to judge during the day.
Before the project is complete, schedules, scenes, and app controls should be tested with the homeowner. A clear walkthrough explains everyday operation, basic care, and how a future lighting phase could connect to the existing system.
What the installation walkthrough checks
Install sequence
The walkthrough confirms where fixtures, controllers, transformers, and wire paths belong before mounting starts, which reduces field changes and keeps the finished system orderly.
Access and protection
TruLight checks trim, masonry, gutters, beds, walking surfaces, power points, and weather exposure so connections stay protected and serviceable after the crew leaves.
Final aim and cleanup
Fixtures are checked from the driveway, entries, patio areas, and main indoor views so the system looks finished instead of merely installed.
Details that keep an installation looking finished
Before mounting begins, TruLight checks the fixture layout against the actual exterior: roofline breaks, gutters, masonry, beds, walkways, trim depth, nearby power, and the views that matter from the driveway or patio. That field check keeps the installation faithful to the plan while allowing the crew to adjust for real conditions on the property.
Wire paths and control locations are planned for both appearance and serviceability. Protected connections, clean transitions, and accessible controllers make the finished system easier to maintain and help prevent the messy look that often comes from rushed lighting work.
Final aiming matters as much as the first mount. TruLight reviews brightness, glare, dark gaps, scene behavior, and everyday control settings before handoff so the lights look intentional from the main outdoor living areas and from the curb.
A clean installation should leave the homeowner with working scenes, clear operation, tidy exterior details, and a practical path for future additions such as patios, paths, cameras, seasonal colors, or additional landscape zones.
Outdoor Lighting Installation questions
Do I need a design before installation?
Some smaller projects can be designed during the estimate, but every installation still needs a layout, zone plan, and fixture placement decisions before work begins.
Will the lights be adjusted after dark?
When aiming matters, nighttime adjustment is important. It helps catch glare, hot spots, and dark gaps that are hard to judge during the day.
Can existing fixtures be reused?
Sometimes. TruLight can review fixture condition, wiring, transformer capacity, and control needs before recommending reuse or replacement.
Services that support a clean installation
Outdoor Lighting
Build the installation around the full exterior plan, from entry lights and pathways to patios, driveway edges, and curb-facing accents.
View Service →Pre-Install Lighting Design
Confirm placement, zones, controls, and phasing before installation begins.
View Service →LED Outdoor Lighting
Compare efficient LED options for rooflines, entries, landscapes, pathways, and outdoor living spaces.
View Service →Get the lighting installed cleanly from layout to final aim
Send TruLight the areas you want lit and the system you are considering. The recommendation will cover placement, wiring routes, controls, aiming, and handoff details before installation begins.
Request Your Free Estimate